Tuesday, February 7, 2012

Nail heads, Uphostery Tacks Whatever You Wanna Call Um..


Have you noticed nail heads are everywhere. I love furniture with this added embellishment. I've also seen some amazing DIY projects using them. Here some of my favorites to inspire you. I see some IKEA hacks coming my way.......

Think of all the designs you could make with these nail heads.


Source: wshome.com

Grass cloth console table covered in nail heads, yes please!
Source: laylagrayce.com


Source: littlegreennotebook.blogspot.com

                         What about this amazing hack made from an IKEA Besta Console? Gorgeous!!


Source: budgetwisehome.com 

Have an IKEA lack table? You can't beat the price for $7.99, paint it a fun color and add nail head trim. Use them paired together as your coffee table or separated as side tables.

Source: decorpad.com

Add nail head trim to a bulletin board, it will look way more expensive then it actually is.


What about a nail head wall? Isn't this amazing? I would love to see it in an office or entry.


These doors are decorated with upholstery tacks, what a great way to spruce up an ugly, boring door.

Please just don't nail head everything. That would be bad, very bad. 


Pin It

Monday, February 6, 2012

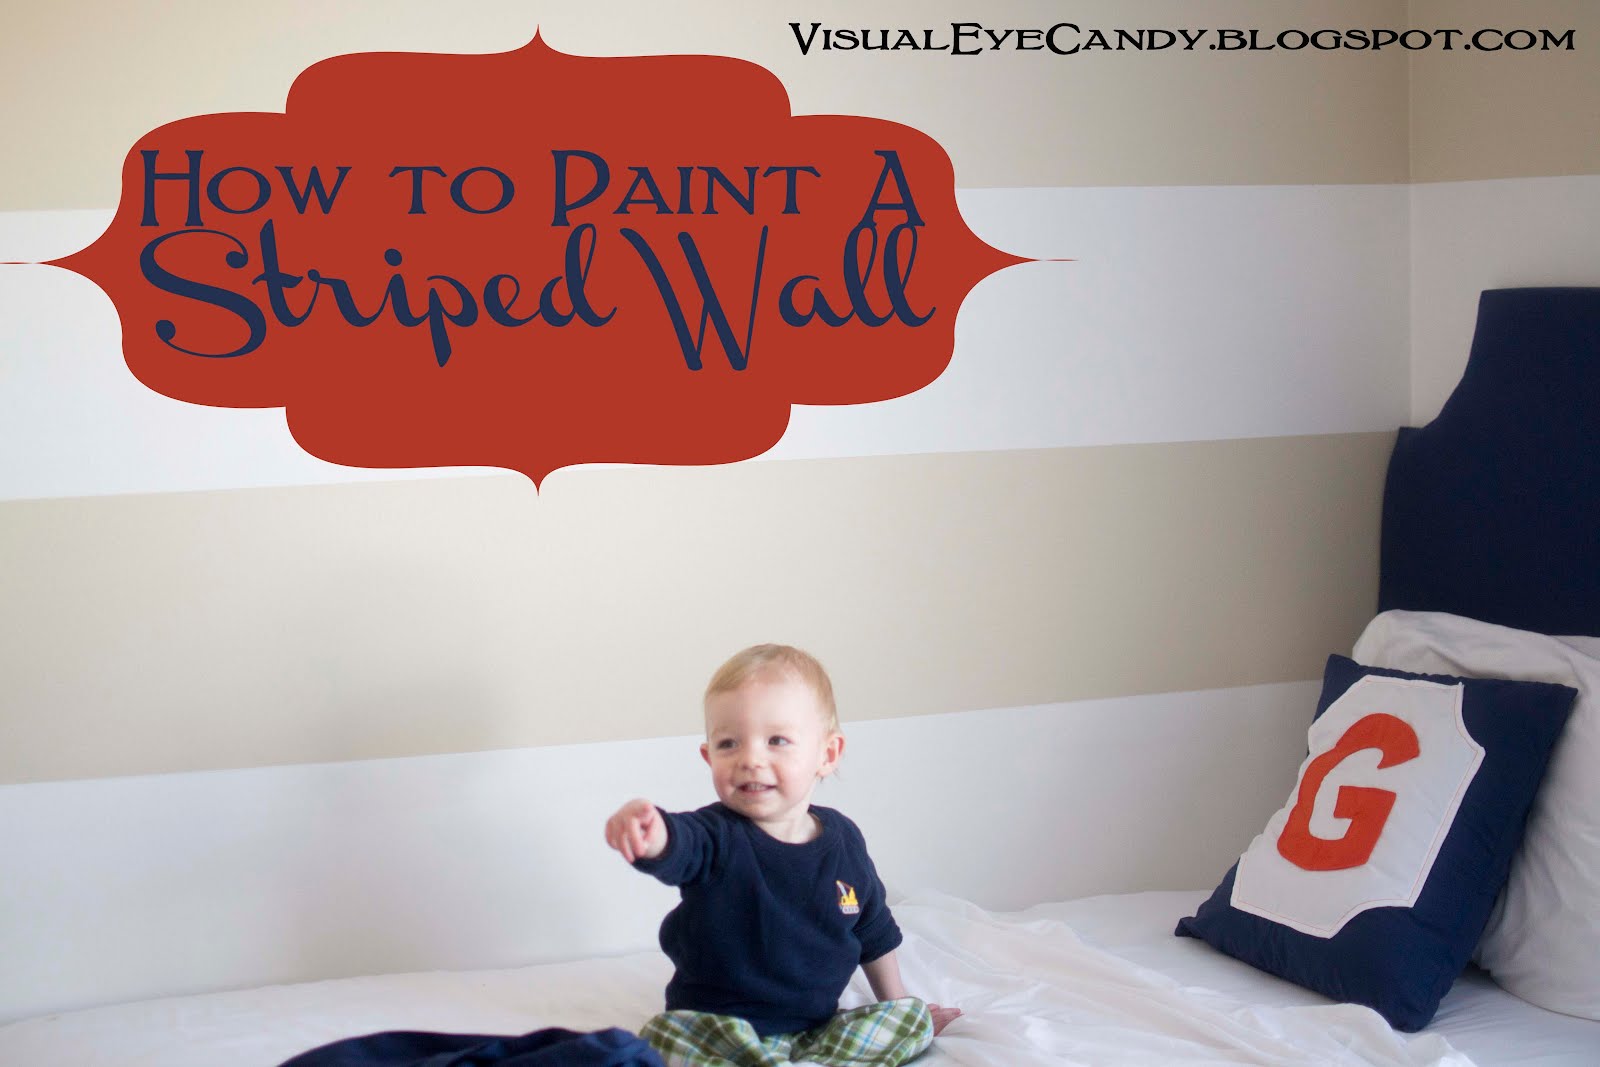
How To Paint A Striped Wall

 This is part of Gavin's big boy room design.


(I'm going to be posting a tutorial on the pillow and headboard soon)

Supplies Needed:
Paint
Painters tape
Yardstick
Pencil
Laser level
Math Skills (you may want to double check with a friend)

First off, start with measuring your wall from top to bottom. I didn't want the stripe to include the baseboard so I subtracted that out. Overall, I had 96" to work with, after taking out the baseboards I was left with 91",  so I did 7 - 13" stripes.

Start with painting the entire wall with the lightest color you are using. It's always  easier to go over a lighter color then a darker one.


Next set up your laser level 13" down from the top, then take the yardstick and pencil and trace along the line all the way across the wall.
 Then grab your tape (it's much easier with two people) and tape over the lines you just made.


Notice how the sections you are going to paint are larger than the other sections. That is because you want to place the tape above the top pencil mark and below the bottom one.

I placed some little tape squares in  the sections I didn't want to paint to make it easier to tell apart. Then paint your darker color.

Pull off the tape before it's dry, that way you'll have a crisp clean line!


Completed project!


Today I'm linking up to:diyshowoff.com  http://delightfulorder.blogspot.com/
http://alliemakes.blogspot.com  http://savedbysuzy.blogspot.com/
gingersnapscrafts.com Today's Creative Blog notjustahousewife Thrifty Decor Chik
http://shabbynest.blogspot.com/


Creations by Kara


Home Stories A2ZButton

Pin It

Friday, February 3, 2012

Design School Fridays

I thought I would start teaching an element or principle of Interior design every Friday. I am hoping that someone might learn from it. These principles and elements are used by interior designer's everyday to achieve great design. Today were talking about Rhythm.

Rhythm in a room is something that keeps repeating, it could be a color, shape, pattern, texture or line. The idea is to help your eye flow seamlessly through the room.

First off let's cover repetition. In this picture notice how the color and shapes are repeated. Pink, white and gold are the main theme here. The pictures on the wall repeat a common shape, as do the end table and lamps.
Source: here

Next radiation, radiation starts in the center and moves out. Think of dropping a pebble into a  lake.

Photobucket 

The Lines in this room are very radial. They start with the architecture of the ceiling, and are repeated in the light, and furniture. Your eye goes straight to the center of the room and moves out.


Contrast: Look at the contrast of the lovely charcoal walls paired with the bright white sofa. It gives this room a striking appearance.


Source: flickr.com

Next up is gradation or progression. It's when an object goes from bigger to smaller, Or from a light color to dark. To create rhythm in a room think of stacking objects on top of each other. A stack of books, bowls, baskets, suitcases all add interest to a room.


 Transition carries your eye on a path. In this picture your eye follows the stairs, rug, banister and molding and helps transition your eye up the stairs.


If you have anything in particular you'd like me to cover in the coming weeks let me know. I'd love some suggestions on things your wanting to learn about.
Pin It

Thursday, February 2, 2012

Color Of The Week: Navy Blue

Lately I've been obsessing over navy. Here's some pieces that I'm in love with.

1. Madeline Weinrib Rug Navy
2. Lulie Wallace Painting $150
3. Striped Pillow $35
4. Midnight Courtyard Curtain
5. Flame Leaf Bowl $16
6. Earings $16.99

Today I'm linking up at http://tidymom.net/Pin It

Tuesday, January 31, 2012

Easy Sew Curtains

Want to learn how to sew curtains? Sewing curtains yourself can save you loads of money! I love this easy DIY it gives you a lot of bang for you buck. Curtains add so much pizazz to a space. So let's get started on how I did this. Again, I'm not a seamstress and have very little sewing experience so if I can do it, you can to.
First off my ceilings are 8' so I got 6 yards of fabric, 3 yards for each side of the window. My fabric was 54" wide.

What you will need for this project is:
Fabric
Iron
Pins
Ruler or measuring tape
Sewing machine
Cordinating thread (I used a light cream)
Scissors

Okay let's get started, wash your fabric if it's machine washable. You want to pre-shrink your fabric. You don't want any of your seams to pucker so this is an important step. Then Iron all of the fabric.

Next, I just laid out my fabric and folded it in half. Then cut right down the middle so I had two panels of 3 yards. You  might be able to have the fabric store do this step for you.

Then I took the sides Folded over 1.5" ironed and measured as I went along to make sure it was accurate. You can make this hem as big or little as you want. I chose 1.5" because I like the way it looked. Then fold over one more time and iron and pin as you go. Your edges will look like this. Then repeat the same steps on the other side.


When you come to the edge you don't have to back stitch this one, because you'll be folding up both hems on each side.
Then it's time to sew your top. I did mine with a 3" hem to fit my rod.
Next iron and pin again, at this point I was squealing with delight because it was sooo easy. I kept thinking I can do this, I can do this. Plus I only managed to burn myself once with the iron, if you know me at all, I burn myself on everything. I usually burn myself on kitchen appliances I think I've been burned by all of them even the dishwasher, yes I didn't even know that was possible.

Now just sew up the top hem on the edge leaving enough space for you rod. I don't know what I was thinking but I didn't take any pics for the bottom hem. Basically it's the exact same thing as the top hem. Once I had the top done, I hung them up and then pinned at the bottom where I wanted them. I did a 7" bottom hem and I left mine a bit longer then usual. I like curtains to graze the floor, I normally wouldn't have them this long. I left mine a bit longer because I might be moving and need the extra length. That way I can always unpick the hem and have a little extra fabric.  You can sew your hem anywhere from 3-7" is fine. One more thing, when hanging your curtain rod if you put it all the way up to the ceiling and to the sides of the window it will make you space seem bigger!
Your done sewing! Congrats you did it, now take a step back pat yourself on the back and admire you new curtains, I know I did.


The DIY Dreamer
Pin It

Monday, January 30, 2012

Rugs


Here's some rugs that I've been crushing on lately. 

Source: dashandalbert.com

This rug from Dash and Albert is amazing! After having to pick up the crusted food and drink my one year old throws onto the floor this would be so nice to have. By the way, any tips on getting her to stop throwing all her food on the floor? After dinner it looks like she got into a food fight with the dog that's begging below her. As I have to clean up ALL the mess... Anywho....
This Indoor outdoor rug is srub-able, bleach-able, and hose-able. Uh-mazing..... It definitely would be nice.


Source: rugsusa.com via Debbie on Pinterest

I love the colors in these rugs. I would love to see the navy blue one in a little boys room. The coral rug would look great anywhere. Caitlin Wilson used it in her home office and it looks beautiful.


What about you, any rugs that you've bought and completely died over or hated, and for what reasons? I would love to know.

P.S. Tomorrow I'll be posting about how to make easy-sew curtains made from this fabric. Believe me it was easy and I'm not a seamstress.

Pin It

Saturday, January 28, 2012

Nursery Design!


Here's an inspiration board of a baby girls nursery I've been working on. I can't wait for it to come together!


Pin It