
Supplies Needed:
Paint
Painters tape
Yardstick
Pencil
Laser level
Math Skills (you may want to double check with a friend)
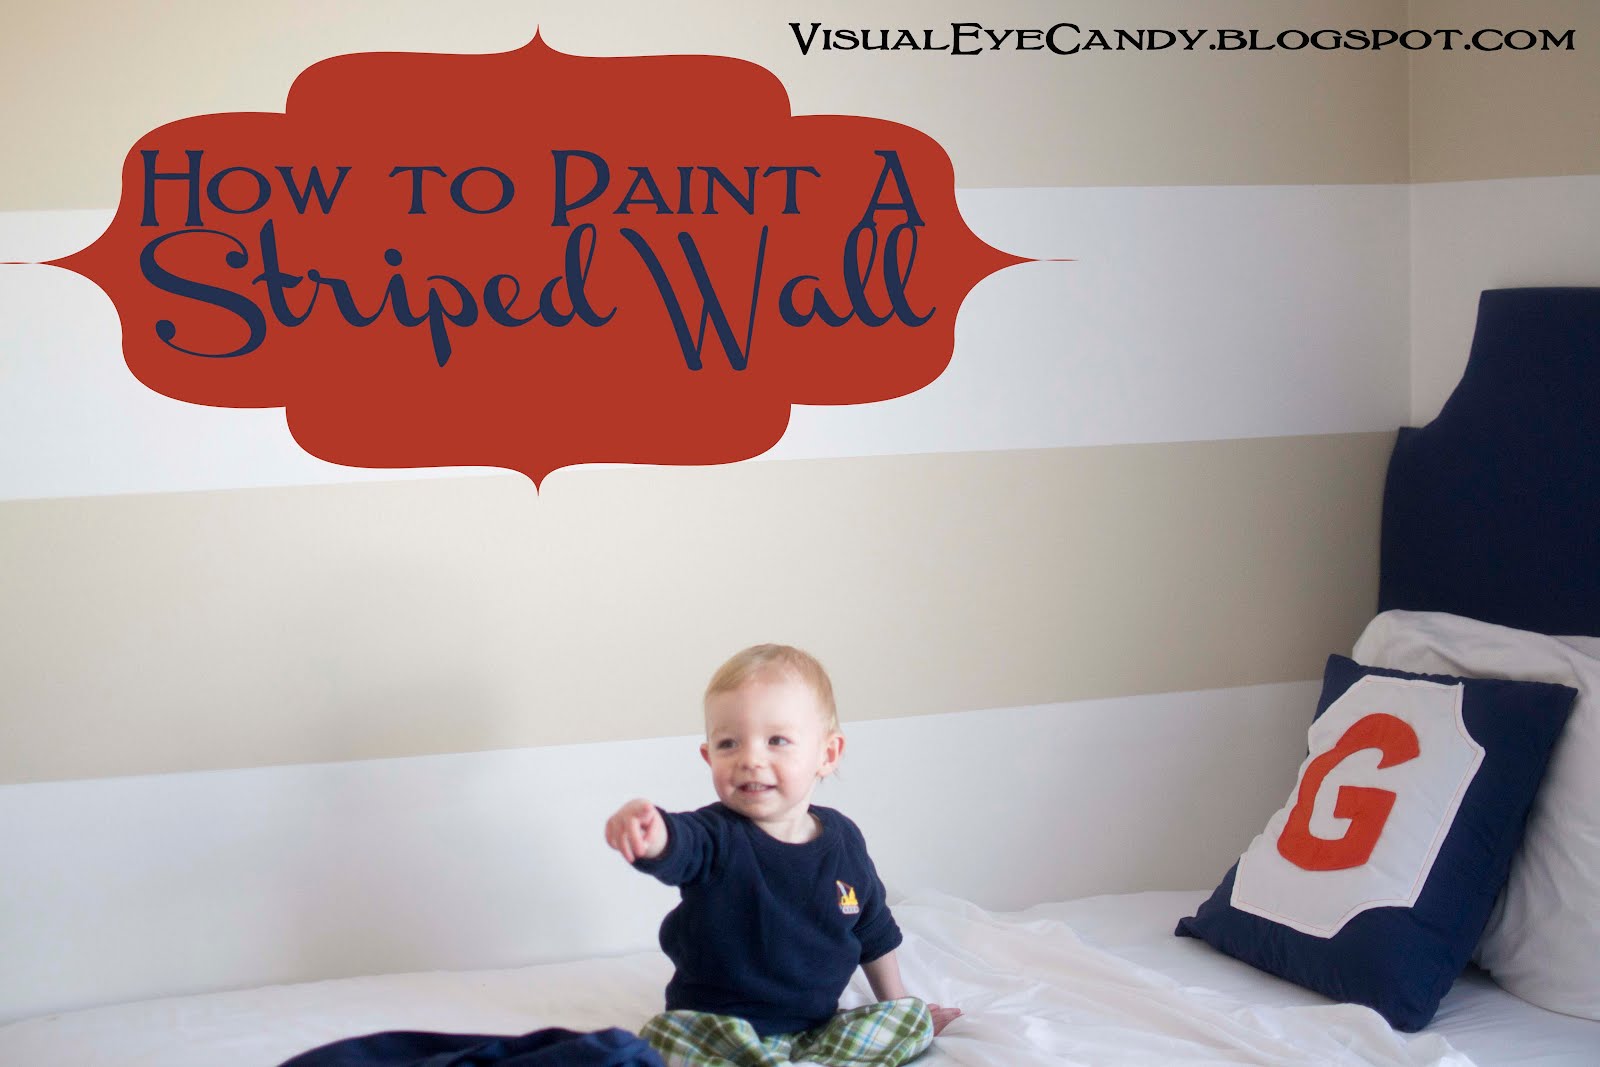
First off, start with measuring your wall from top to bottom. I didn't want the stripe to include the baseboard so I subtracted that out. Overall, I had 96" to work with, after taking out the baseboards I was left with 91", so I did 7 - 13" stripes.
Start with painting the entire wall with the lightest color you are using. It's always easier to go over a lighter color then a darker one.

Next set up your laser level 13" down from the top, then take the yardstick and pencil and trace along the line all the way across the wall.

Notice how the sections you are going to paint are larger than the other sections. That is because you want to place the tape above the top pencil mark and below the bottom one.

I placed some little tape squares in the sections I didn't want to paint to make it easier to tell apart. Then paint your darker color.
Pull off the tape before it's dry, that way you'll have a crisp clean line!


Completed project!
Today I'm linking up to:diyshowoff.com http://delightfulorder.blogspot.com/
http://alliemakes.blogspot.com http://savedbysuzy.blogspot.com/
gingersnapscrafts.com Today's Creative Blog notjustahousewife Thrifty Decor Chik
http://shabbynest.blogspot.com/


Debbie; Great tutorial...I'm coming over from my blog Larissa Hill Designs from the comment you left about the pillows I featured in my post. Can't wait to see yours. I'm your newest follower. Would love for you to follow back. Heather
ReplyDeleteAwesome tutorial!!! I'm so excited to be following you, too!!! XO, Aimee
ReplyDeleteBeautiful job! (I used the same technique in our guest bathroom). At lot of work but so worth it! Thanks so much for sharing in the DIY Project Parade! :)
ReplyDeleteThis is gorgeous - I would love to try this - maybe!!
ReplyDeleteLovely... What did you use to paint the wall ? Paint brush or rollers ? Neat job :)
ReplyDelete- Somu (Woodooz)
Somu-
ReplyDeleteI used a roller, it makes it go sooo much faster!
This looks so lovely! When I first glanced at it I thought "Math Skills" said "Mad Skills". Hehe :) What paint colors did you use? I love them!
ReplyDeleteoh my gosh!! super fabulous.. This looks awesome!! :-)
ReplyDeletehaha. Mad skills sounds funnier, maybe I should have used that in the future! We used a white from Lowes and Manchester tan from Benjamin Moore.
ReplyDeleteAwesome-I'm thinking of doing this in my hallway. If you do the stripes the other way too, you get plaid-I did it in my craft room.
ReplyDeleteIt looks great! I love the colors you used. I'm trying to get up the nerve to paint stripes on the closet doors in the hall.
ReplyDeletewow. this is beautiful. and such a great tutorial!!
ReplyDeletei have a creativity party going on at my blog right now; i would love it if you linked up this or any other amazing project you might have!
http://letbirdzfly.blogspot.com/2012/02/exodus-35-creativity-party-19.html
thanks so much for sharing!
Looks great! I'm thinking stripes, at least on one wall, when I finally do my sons room:)
ReplyDeleteFeaturing you this morning over on my blog! Thank you so much for sharing at {wow me} wednesday!
ReplyDeleteGinger @ gingersnapcrafts.com
http://www.gingersnapcrafts.com/2012/02/take-look-at-you-my-favorites_16.html
This is so cute. We loved having you link up to our "Strut Your Stuff Saturday!" We hope to see you back next Saturday with more fun ideas! -The Sisters
ReplyDeleteI'm planning to paint some horizontal stripes in the hall, so I'm glad to find your post! I love that you put little squares in the areas you didn't want to paint. I'd love it if you'd share this at my Show & Tell party, going on now @ the Delectable Home.
ReplyDeleteThe striped wall looks perfect! I could never them as good as these! Thank you for sharing at my party!!
ReplyDeleteVery nice.
ReplyDeleteTranae
www.becomingfab.com
Stopping by from the Girl Creative Blog Hop! http://queenofsavings.com
ReplyDeleteWhat paint did you use? Love it
ReplyDeleteI like your blog a lot. Its informative and full of information. Thank you for sharing.
ReplyDeleteairless paint spray gun
Your blog is very useful. Thank you so much for providing plenty of useful content. I have bookmark your blog site and will be without doubt coming back. Once again, I appreciate all your work and also providing a lot vital tricks for your readers.
ReplyDeleteExterior Painters Services Toronto