I've had several people ask me how I achieved this wall in my bedroom. So I going to teach you how I did it!
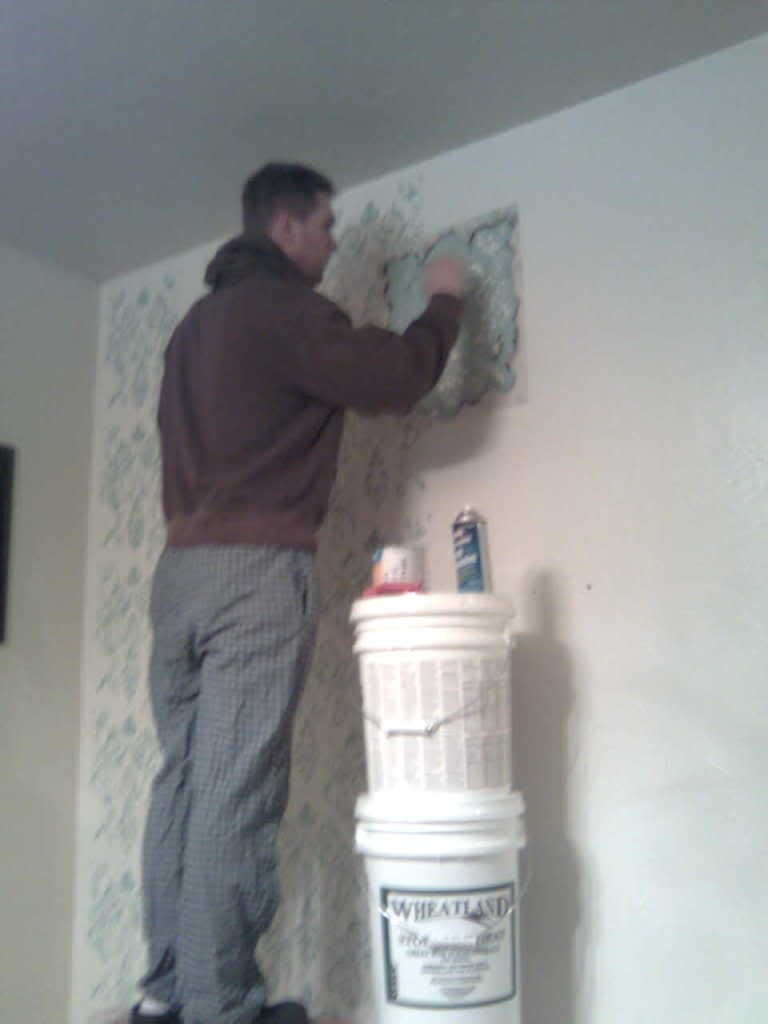
First off, I stenciled the wall using white and teal. I used general finishes oil based stain in spiced walnut for the glaze. Yes, that is my poor husband helping me stencil after I told him he didn't have to. That was until my hand was cramping and I just couldn't do another stencil.
This is where it gets tricky, and I have no photos of this part, sorry in advance. You get an old cotton t-shirt, dip it in the stain and move in circular movements. It will go on dark really quickly. You might just have a mini heart attack thinking that you just ruined your beautiful stenciled wall you spent all that time on. Just keep working it in but work quickly. If you have too much stain and it starts to get too dark, get some lacquer thinner just a teeny tiny amount and rub it in. You may want to put on gloves and a safety mask for this part and open all your windows. Between the oil based stain and the lacquer thinner it stinks!
It's also nice to have a clean rag handy to clean up any excess. You just keep doing this till the whole wall is done! It's very time consuming and hurts your hands like crazy! You might be muttering some not so nice words by the end or have to drag your poor husband in to help finish the job like I did.
You can always sand afterwords as well. I didn't, but I think it could add a cool effect. Now go make yourself a vintage stenciled wall.
Parties I'm linking to this week:
Monday:
Tuesday:
Home Stories A to Z, Coastal Charm, Tip Junkie, Not Just A Housewife, The Blackberry Vine, Today's Creative Blog
Wednesday:
Fabric Bows and More , Sew Woodsy, Ginger Snap Craft, Primp, Tales Of A Trophy Wife, Southern Lovely, Creations Of Kara, Rae Gun Ramblings,
Thursday:
Friday:


Thanks Stefanie!
ReplyDeleteWow! A lot of work, but I'd say it was worth the payoff! It looks fantastic! I would love for you to stop by and link to my Sew Crafty Saturday Party!
ReplyDeletevery pretty!
ReplyDeleteWhat an awesome husband you have. :) The whole room looks fab, and I have to say I love your bed head.
ReplyDeleteLooks amazing- thanks for sharing it at Feathered Nest Friday!!
ReplyDeleteI'm amazed at your wall. Looks exactly like the old wallpaper in my Mom's house. I shared it on my Facebook page also!
ReplyDeleteSharing at tonights party- thanks for linking up at FNF :)
ReplyDeleteI think the wall is so gorgeous. It looks like it belongs in a quaint little bed-n-breakfast. I so want to steal this, I'm just trying to figure out a room:)
ReplyDeleteThanks for sharing how you did this great effect, Debbie. I saw it featured over at the blog party at "French Country Cottage". I think it is just beautiful.
ReplyDeleteVisiting from FNF. Absolutely gorgeous! I can't believe it's not century old wallpaper. And your husband helped you!!
ReplyDeleteI know isn't he so sweet!
DeleteThank you Debbie. I'm headed to their site right now!
Deleteohhhhhh I am soooo in love with your walls!!!! thanks for sharing!
ReplyDeleteDebbie,
ReplyDeleteI've been dreaming of a wall just like this! I couldn't believe it when I saw the picture at "French Country Cottage". I couldn't get to your blog fast enough. Can you share where you purchased your stencil?
Oh I'm so glad you found it! I borrowed the stencil from a friend. I think she got it at cutting edge stencil.
DeleteHi Debbie!! Shut the front door - this is so beautiful!! Great job and great decision to stain it as well. Looks so calm, you are very talented :) I have a few questions if you don't mind sharing....what color teal paint did you use, what is the name of the stencil (I love damask patterns, I just finished making 2 pillows in a Kravet damask) and were your walls textured before you stencilled or did you do that as well? Thanks so much for this tutorial, you have inspired me to do this too! Love your blog and am following you!
ReplyDeleteHeather @ settingforfour.blogspot.com
Heather you crack me up! Thanks, I'm glad you love it so much. The paint color I used is shallow 2113w from Kwal paint. The stencil I don't know I borrowed it from a friend and she doesn't remember either. You could try cutting edge stencil I think I've seen something similar. My walls were textured with an old world texture before. Let me know if you have any others questions!
DeleteI may try this for making some scrapbooking/papercrafting paper - what a great idea!
ReplyDeleteFound you on Positively Splendid - would love for you to come by for a visit!
Ann @ Suburban Prairie Homemaker
www.suburbanprairiehomemaker.com
Ann, that's actually what inspired the wall was a piece of scrapbook paper that looked like this. So I thought I would re-create it!
DeleteWhat a neat look for your walls!! Thanks for sharing how you achieved this great look!
ReplyDeleteWould love for you to come by and see what I've been working on-
bee blessed
mary
EXACTLY what I was looking for for my bedroom wall! Can't wait to start on it. Good thing my husband doesn't read blogs so he won't know what he's in for till we get going! Thanks so much for the share...
ReplyDeleteCongrats! I featured these today: http://trophyw.blogspot.com/2012/03/winner-and-features.html
ReplyDeleteOH MAN! That is amazing!! We were both featured over at Tip Junkie, so I'm checking out all the other features. This is just insanely gorgeous. What a fun wall to look at every day :)
ReplyDelete